
How to Remove Mold From a Bathroom Ceiling Without Bleach
Quick Answer
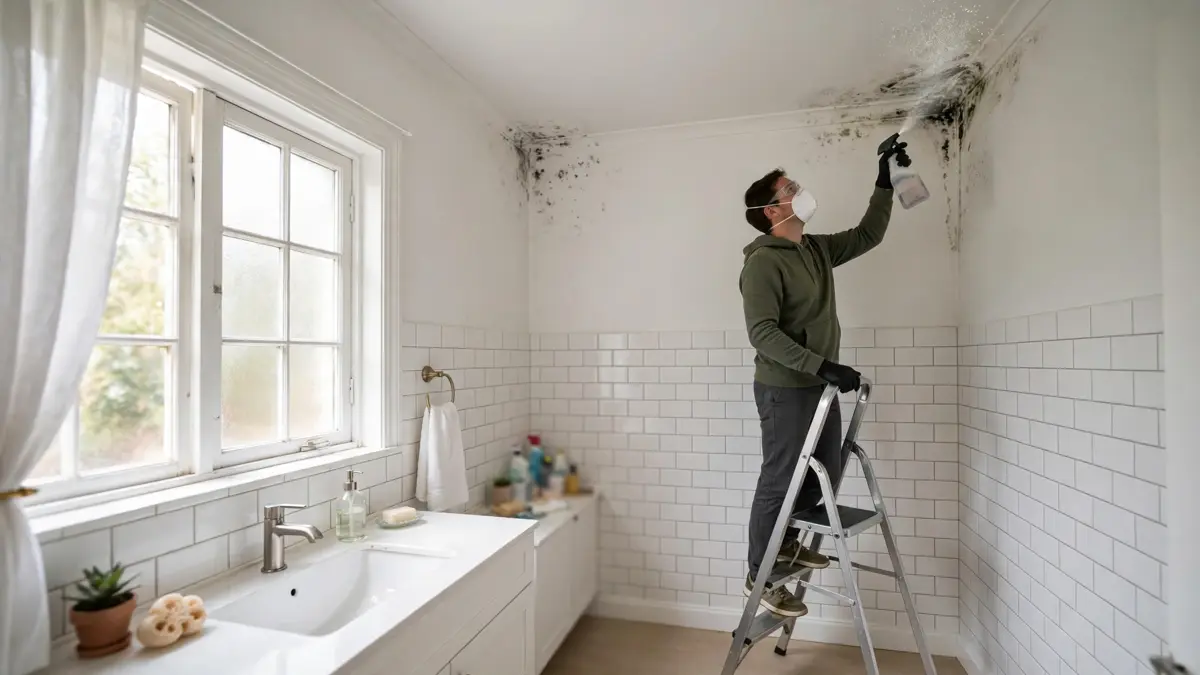
For small patches (well under about 10 square feet), spray 3% hydrogen peroxide on the ceiling, wait 10-15 minutes, scrub, wipe, and dry it completely. Wear gloves, goggles, and a mask, and ventilate the room first. If the patch is large, keeps coming back within days, or anyone at home has asthma or allergies, call a mold professional instead - that is the right call, not a failure.
First, the Honest Truth About Bathroom Mold
Mold on a bathroom ceiling is a moisture problem wearing a cleaning problem's clothes. You can scrub it all you want, but if your bathroom stays damp, the spots will come back like nothing happened. That said, small patches on painted surfaces are a normal homeowner annoyance, not a disaster. The rule of thumb many housing and health authorities use is roughly 10 square feet: if the affected area is bigger than about a 3-by-3-foot patch, or it comes back within days of cleaning, or anyone in your home has asthma or serious allergies, skip the DIY route and call a mold professional. For the typical creeping black spots near the shower or around the exhaust fan, you can handle this yourself. One more ground rule before we start: never mix cleaning chemicals, ever. Vinegar and any acid-based cleaner mixed with bleach or bleach products can create harmful fumes. Pick ONE cleaner for this job and stick with it.
Get Your Safety Gear Ready First
Bathroom ceilings put you in the splash zone, so dress for it. You do not need a hazmat suit, but you do need the basics, and they cost almost nothing. Scrubbing overhead sends droplets down toward your face, and mold spores go airborne the moment you disturb them, so the glasses and mask genuinely matter. Eye protection is the one people skip, and it is the one they regret skipping — peroxide in your eyes burns, and a mask keeps you from breathing in the cloud of spores that every scrubbing stroke throws into the air.Set the ladder on a dry spot, wear the mask before you start scrubbing rather than after you start coughing, and lay the drop cloths so nothing drips into the toilet or sink below.
- Rubber or nitrile gloves (dish gloves work fine)
- Safety glasses or goggles — not sunglasses
- A mask or respirator: a basic N95/P2 is ideal, a dust mask is better than nothing
- A sturdy step ladder on a dry floor — never stand on the toilet, the tub edge, or a wobbly chair
- A drop cloth or old towels over the toilet, sink, and floor
Pick Your Cleaner: What Actually Works
You have four real options, and each has honest strengths and limits. Three percent hydrogen peroxide in a spray bottle is probably your best bet for a ceiling: spray it on, wait 10 to 15 minutes, scrub, wipe. It fizzes on contact with mold and handles the roots of surface growth, but test a hidden spot first because it can lighten some paints. White vinegar is the classic no-bleach choice and it kills many common household molds on hard surfaces — on painted drywall, though, be honest with yourself: it often cleans the surface while leaving the staining behind, so the paint can look dirty even when the mold is dead. Baking soda, as a paste or dissolved in water, is gentle and great for scrubbing and odor, but it is the weakest of the three at actually killing mold. Borax is the heavy hitter: dissolve about a cup in a gallon of hot water, scrub it on, and — this is the trick — do not rinse, because the residue left behind discourages regrowth. Keep borax away from kids and pets and off anything that touches food or water.
Supplies You'll Need
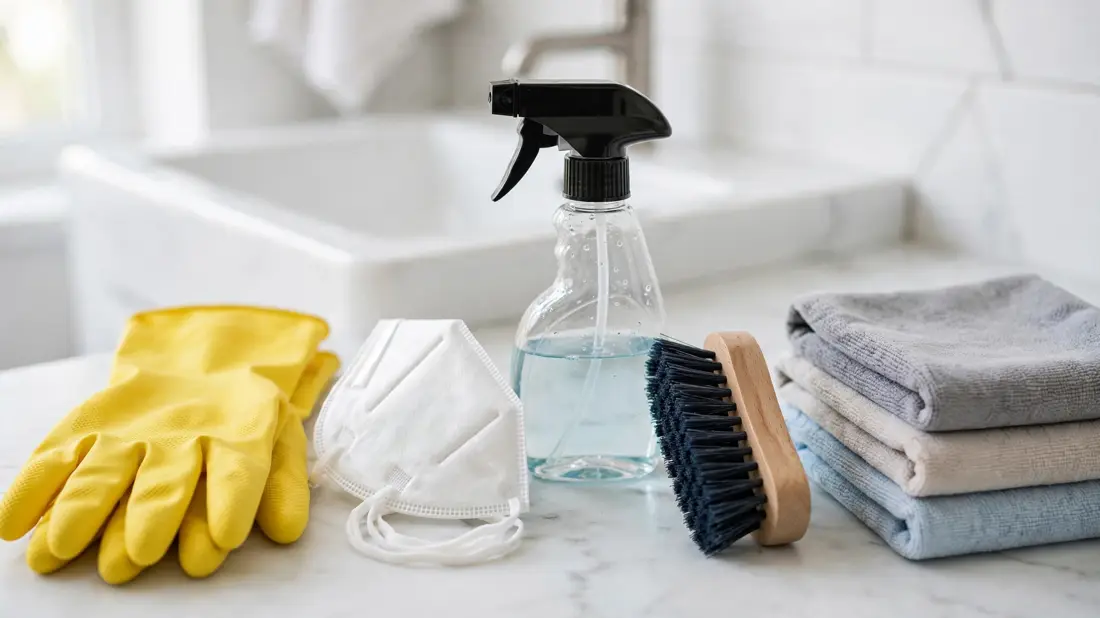
Gather everything before you climb the ladder, because nobody wants to drip peroxide down their shirt while hunting for a clean cloth. Nothing here is expensive, and you probably own most of it already. The stiff brush does the real work on textured or matte paint — a sponge just smears things around. Buy an extra cheap brush head or two if the patch is wide, since a clogged brush stops cutting. Keep two buckets if you can: one for your cleaner and one of clean rinse water, or at least a stack of fresh cloths to swap in. Trying to wipe a ceiling with a rag that is already gray with mold is how people end up declaring the job finished when the ceiling is still streaky. And label your spray bottle. Anything in a reused bottle in a bathroom should say what it is — future you, half awake, will thank present you.
- Your chosen cleaner in a spray bottle
- A stiff-bristle brush or an old toothbrush for tight spots
- Several clean rags or microfiber cloths
- A bucket of warm water
- Your safety gear from above
Step 1: Dry the Bathroom Out First
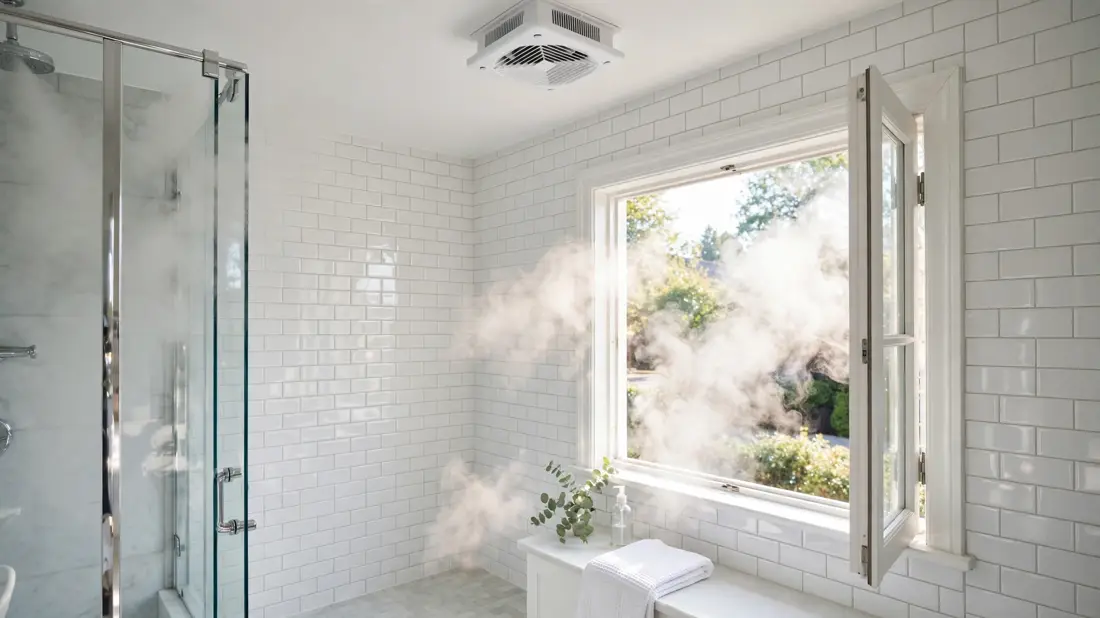
Clean a dry ceiling, not a steamy one. Run the exhaust fan for at least 20 minutes before you start, or open the window wide if you do not have a fan. If the ceiling is visibly wet from a recent shower, wait until it is dry to the touch. Working on a wet ceiling dilutes your cleaner, smears the mold instead of lifting it, and makes your ladder footing worse. This takes a little patience, but it is the difference between a job that works and one that just moves the problem around. If the fan is weak — the kind that hums loudly without seeming to move any air — prop the bathroom door open a crack while it runs so it can actually pull steam out. Some old fans exhaust into the attic or between floors rather than outside, which just relocates the moisture problem to somewhere you cannot see; if your mirror still fogs badly with the fan on, that is worth knowing.
Step 2: Spray and Wait (Don't Rush This Part)
Working in sections of about two feet square, spray your cleaner generously onto the moldy area — enough that it is visibly wet. Now the hard part: walk away. Hydrogen peroxide needs 10 to 15 minutes to do its work, vinegar needs at least an hour on tougher spots, and borax solution should sit for 30 minutes or so. The waiting is the whole point; scrubbing too early is the number one reason people think these methods don't work. The fizzing you hear with peroxide is normal — that is it reacting with the mold. While you wait, keep the fan running and stay out of the bathroom so you are not standing under the loosened spores. When the timer is up, give the patch a firm rub with the brush before you decide anything — a surprising amount of growth wipes away at this stage, and only the stubborn stains need a second round.
Step 3: Scrub, Wipe, and Check
Scrub the area firmly with your stiff brush, working in small circles. On flat paint, the spots should lift as a dark smear. Wipe with a clean damp cloth, rinsing or switching cloths as they get dirty — using the same filthy rag just redeposits spores. Now look closely. If the black color is gone but a faint stain remains, that is often just pigment soaked into the paint, not live mold. A second round of spray-and-wait will get most of what remains. But here is the honest bit: some stains simply will not come out of old paint no matter how long you scrub. That is not your failure — it means the paint itself is discolored and will need a stain-blocking, mold-resistant primer and a fresh coat of bathroom paint once everything is fully dry.
Step 4: Dry the Ceiling Completely
This step gets skipped constantly, and skipping it is how you end up redoing the whole job in a month. After cleaning, the ceiling must be completely dry — not mostly dry, completely. Leave the exhaust fan running for a couple of hours, point a small fan or space heater at the ceiling if you have one, and keep the bathroom door open for airflow. Press your palm flat against the ceiling before you call it done; if it feels even slightly cool and damp, give it more time. Mold spores are everywhere in the air already. What they need to colonize is moisture, and a damp ceiling is an open invitation.
When Cleaning Isn't Enough: Call Someone
Be real with yourself about three situations. If the patch is large — around 10 square feet or more — that is professional territory, because you cannot see what is growing inside the ceiling cavity. If the mold keeps coming back within days of a thorough cleaning, there is probably a leak above the drywall or missing ventilation, and no amount of scrubbing will fix a plumbing problem. And if anyone in the household has asthma, severe allergies, or a weakened immune system, it is not worth the risk of stirring up a big patch yourself. A good mold remediation company will contain the area, find the moisture source, and fix it properly. That is not a defeat. That is the correct answer.
The Real Fix: Stop It Coming Back
Cleaning is the easy half. Prevention is the job that actually ends this, and it is mostly about drying the room out. Run the exhaust fan during every shower and leave it on for 20 to 30 minutes afterward — most fans have a timer switch for exactly this. If you have no fan, leave the bathroom door open after showering so steam can escape instead of sitting on the ceiling. Wipe condensation off mirrors and walls when you see it, and keep indoor humidity somewhere around 30 to 50 percent if you own a cheap hygrometer. When you eventually repaint, use a paint rated for bathrooms with mold resistance built in, over a proper primer. These are boring little habits. They work, which is more than you can say for most exciting home projects.
Renters: This Might Be Your Landlord's Job
If you rent, read this before you buy a single supply. In many places, mold caused by leaks, broken ventilation, or building defects is the landlord's repair responsibility, not the tenant's cleaning chore. The careful version: photograph the problem, write a short dated message describing it, and ask your landlord to fix the underlying cause. Save that message. Surface mildew from your own shower habits is one thing, but water stains, bubbling paint, or mold around pipes usually signals something behind the drywall that only the owner can properly repair. Rules vary by area, so check your local tenant guidance, but the general principle holds: document first, clean second, and do not let anyone talk you into scrubbing away a landlord's leak.
✅ Guide4U Checklist
- Wear gloves, goggles, and a mask before you start
- Ventilate: run the fan 20 minutes first
- Work the ladder only on a dry floor
- Use ONE cleaner at a time - never mix chemicals
- Spray, wait the full time, then scrub
- Dry the ceiling completely after cleaning
- Fix the moisture so it stays gone
Key Takeaways
- Mold is a moisture problem first and a cleaning problem second.
- Wait the full dwell time - scrubbing early is why methods seem not to work.
- Prevention (fan after showers, dry room) is the job that actually ends it.
Frequently Asked Questions
Is vinegar or hydrogen peroxide better for bathroom ceiling mold?
For most ceilings, peroxide edges ahead. It breaks down the mold itself more aggressively and is easier to use overhead, since it only needs 10 to 15 minutes of contact. Vinegar is cheaper and fine for mild spots on hard surfaces, but on painted drywall it often leaves staining that peroxide would have removed. If you only have one, go peroxide — just spot-test your paint first.
I cleaned the mold and it came back in two weeks. Now what?
That is the mold telling you the moisture problem is still there. Check whether your exhaust fan actually vents outside (some just blow into the attic), leave it running 20 to 30 minutes after showers, and look for slow leaks above the ceiling. Fast, repeated regrowth is one of the clearest signs it is time to call a professional instead of scrubbing again.
Can I just paint over the mold with mold-resistant paint?
No, and this one is non-negotiable. Paint over live mold seals it in, and it will keep growing right through the new coat — sometimes visible again within weeks. Clean it first, let the ceiling dry completely, use a stain-blocking primer, and only then paint. Paint is the finishing move, not the fix.
The mold is from a leaky pipe upstairs. My landlord or me?
Almost certainly your landlord's responsibility, since it comes from the building, not from your habits. Photograph everything, report it in writing, and keep a copy. In many places landlords are legally required to repair leaks and the damage they cause. If the landlord drags their feet, your local tenant advice service can tell you exactly where you stand — do not just live with a leak.