
How to Fix a Hole in the Wall From a Door Handle
Quick Answer
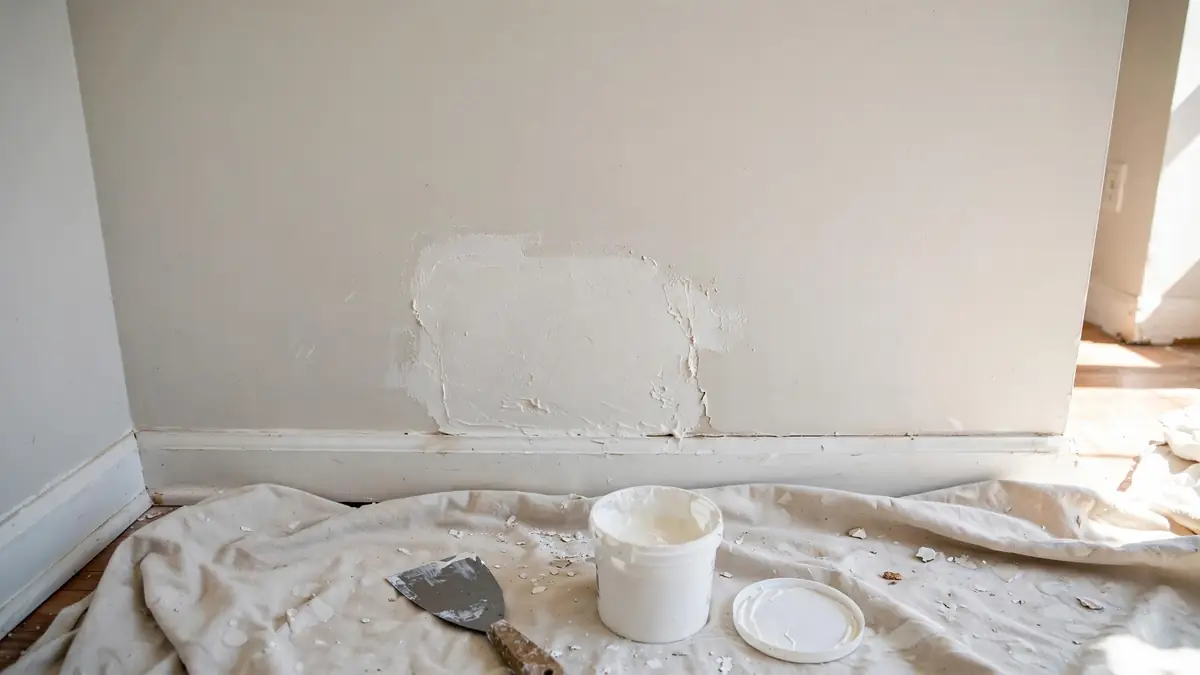
A door-handle hole in drywall is a beginner-friendly repair. Classify it by size, prep the edges, cover medium holes with a self-adhesive mesh patch, build up two or three thin spackle coats, sand lightly, spot-prime so the paint does not flash through, then blend the paint. Finish by installing a door stop so it never happens again.
First, Look at What You Are Dealing With
Not all holes are equal, and the size decides the method. Small holes under an inch wide, like nail or screw holes, need only spackle. Medium holes of one to four inches, which is where most door-handle punches land, need a patch plus spackle. Anything bigger than your fist needs a drywall patch piece and is a bigger job. Push the edges gently. If the surrounding wall feels solid and only the impact zone crumbled, you are in easy territory. Also check your wall type: most modern homes have drywall, which this guide covers. Older homes with plaster over wood lath are harder to patch and may deserve a professional. Ninety percent of you are looking at drywall, so let us fix it.
The $15 Shopping List
You do not need a workshop for this. One trip to any hardware store gets you everything. Grab a small tub of all-purpose spackle, which is pre-mixed and ready to use. Get a self-adhesive mesh patch sized a couple of inches bigger than your hole on every side. A three or four inch putty knife is the main tool, and a wider six-inch one helps feather the edges if you want the flattest finish. Sandpaper in 120 and 220 grit, a small can of primer, and your wall paint. If you do not have the paint, chip off a pea-sized piece from a hidden spot and have the store color-match it. Total damage: about fifteen dollars, and the tools last for every future hole.
- All-purpose spackle or lightweight joint compound, small tub
- Self-adhesive mesh drywall patch, 4x4 or 6x6 inches
- Putty knife, 3 or 4 inches wide, plus a wider one if you can
- Sandpaper: one sheet each of 120-grit and 220-grit
- Small can of primer and a sample of your wall paint
Prep: The Step That Makes or Breaks the Repair
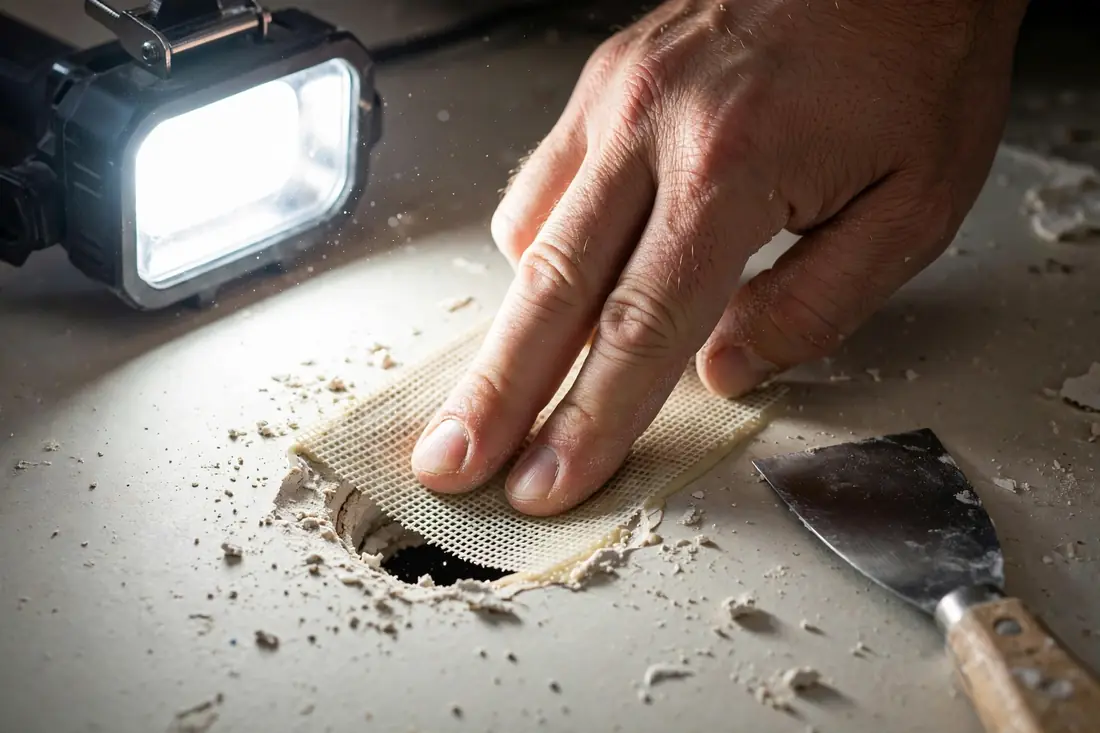
Here is where beginners go wrong: they start spreading spackle over a crumbling hole. The patch can only stick to solid material, so prep first. Pull out any loose chunks of drywall and trim the ragged paper edges with a utility knife so nothing flakes later. If the hole has crushed gypsum dust inside, vacuum it out or wipe it with a dry cloth. The surface around the hole should be clean, dry, and firm. Press the area around the damage: if it flexes or crumbles, cut back to solid material. This five-minute prep is the difference between a patch that lasts ten years and one that cracks by Christmas. Do not skip it, no matter how tempting it looks.
Small Holes: Spackle, Two Coats, Done
For holes under an inch, the method is almost embarrassingly simple. Press spackle into the hole with your putty knife, slightly overfilling it, then scrape the knife across the surface at a low angle to leave it flush. Let it dry completely, which usually takes one to two hours. Spackle shrinks as it dries, so apply a second thin coat to fill the shallow dent left behind. Wait again, then you are ready to sand. The classic beginner mistake is one thick coat, which cracks and takes forever to dry. Two thin coats always beat one thick one. This whole process takes ten minutes of actual work spread across an afternoon, and it handles nail holes, anchor holes, and small dings the same way.
Medium Holes: The Self-Adhesive Mesh Patch
A door handle usually leaves a hole two to four inches wide, and that is exactly what self-adhesive mesh patches are made for. Peel the backing and center the patch over the hole, pressing it flat against the wall so the mesh grips. Now spread spackle over the entire patch with your putty knife, pressing it through the mesh holes and feathering the edges out several inches beyond the patch. Aim for a thin, even layer; you can always add more. Let it dry fully, then add a second coat, feathering a little wider each time. Three thin coats is the pro secret for an invisible repair. When dry, the patch is locked in and the wall is solid again. It feels fragile while wet and rock-hard when cured.
Sanding Without Ruining Your Work
Sanding is where patience pays off and impatience ruins everything. Wait until the spackle is fully dry, then start with 120-grit sandpaper using light, even pressure in small circles. Your goal is to make the patch flush with the wall, not to carve it down. Check your progress by running your fingertips across the repair; your fingers detect bumps your eyes miss. Switch to 220-grit for a final smooth pass. Keep a vacuum or damp cloth nearby because the dust gets everywhere, and wear a basic dust mask. The number one sanding mistake is pressing too hard and creating a dip. Light pressure, frequent checks, and stop the moment it feels flat. Then wipe the dust off with a barely damp cloth and let it dry.
Prime the Patch or the Paint Will Show It
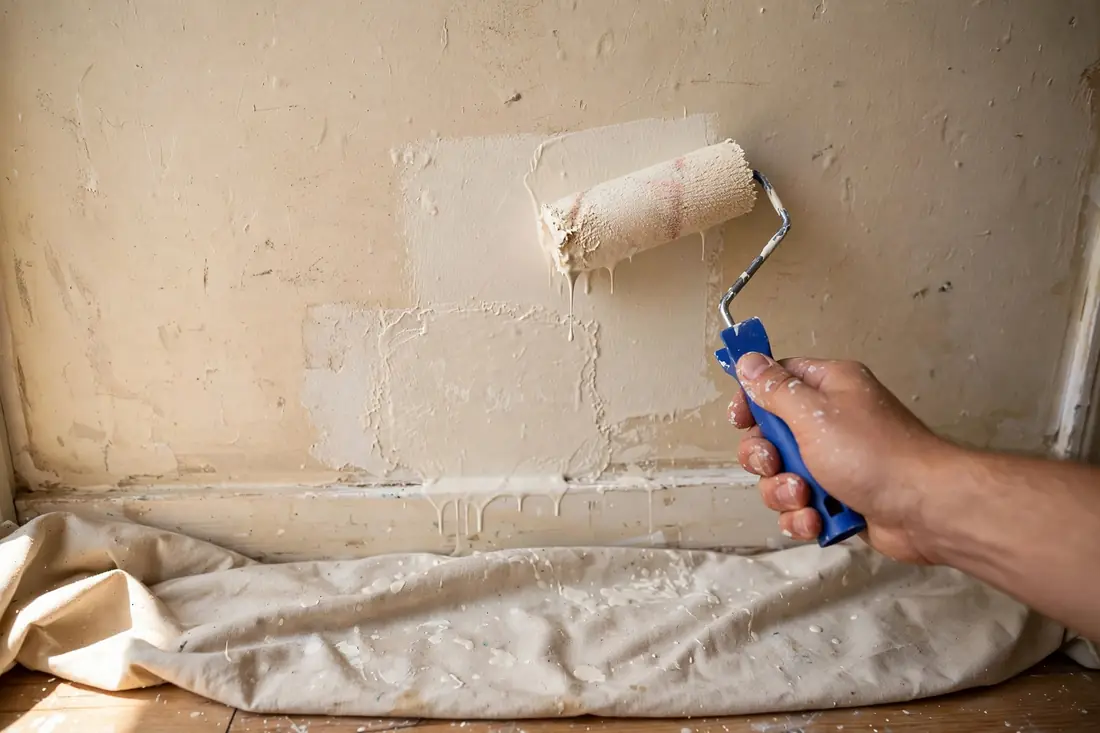
This is the step almost everyone skips, and it is the reason patched walls have that ghostly rectangle visible in certain light. Spackle and joint compound are thirsty: they soak up paint differently than the surrounding wall, so the repair flashes through as a dull patch even under two coats. The fix is simple. Brush one coat of primer over the entire patched area, extending slightly past the feathered edges, and let it dry. Primer seals the porous spackle so the topcoat goes on evenly. A small can of basic drywall primer is cheap and lasts for years of touch-ups. Skip the fancy two-in-one paint-and-primer products for this job. For a spot repair, real primer does the job that marketing promises.
Blending the Paint So It Disappears
Now the fun part: making the repair vanish. Stir your paint well and apply it over the primed patch with a small roller or brush, feathering the edges so there is no hard line where new paint meets old. The biggest giveaway of a repair is the wrong sheen, so match your existing finish: flat, eggshell, satin, or semi-gloss. If you are unsure, eggshell is the most common for living areas. Paint in daylight or strong light, and check the repair from several angles, including the raking light along the wall that reveals every bump. One coat is often enough over primer; add a second if the color looks uneven. Step back when done. A well-feathered repair at the right sheen is genuinely invisible.
Install a Door Stop Today, Thank Yourself Forever
Here is the thing nobody tells you: if you fix the hole without fixing the cause, you will be reading this guide again. A door handle punches through drywall because nothing stops the door before the handle hits the wall. The fix costs a few dollars. A hinge-pin door stop slides onto the door's hinge pin in two minutes with no tools and limits how far the door opens. Wall-mounted bumpers stick to the wall where the handle lands and absorb the impact. Baseboard-mounted stops screw into the baseboard behind the door. Pick whichever suits your door, install it before you finish painting, and the wall you just repaired will never get hit again. Future you, who never has to do this repair twice, says thanks.
When to Call a Professional Instead
Honesty time: this guide covers the standard door-handle hole in drywall, which is a beginner job. Know where the beginner zone ends. Holes bigger than about eight inches need a real drywall patch, taped seams, and more skill than a first-timer should attempt alone. Plaster-and-lath walls behave differently from drywall and punish guesswork. Any damage near outlets or wiring should go to someone who knows where the wires run. And cracks radiating from the hole can signal movement in the wall itself, which is a job for assessment, not spackle. None of this is failure. Knowing the boundary between a satisfying DIY win and a job for a pro is the most useful home skill of all.
- Holes bigger than about 8 inches, which need a drywall patch piece and taping
- Plaster-and-lath walls in older homes, a different skill set
- Damage near electrical outlets, switches, or wiring
- Cracks spreading from the hole, which can signal structural movement
✅ Guide4U Checklist
- Classify the hole: small, medium, or large
- Buy mesh patch, spackle, and sandpaper
- Trim loose edges before patching
- Apply two to three thin spackle coats
- Sand lightly, then spot-prime the patch
- Install a door stop so it never repeats
Key Takeaways
- Prep and thin coats decide the result, not talent.
- Prime the patch or the repair will show through.
- A hinge-pin door stop prevents the next hole.
Frequently Asked Questions
How long does spackle take to dry?
Most spackle is sandable after one to two hours and paintable after 24 hours. Lightweight spackle dries faster than the heavy kind. If you are in a hurry, do thin coats, because a thick blob can stay soft in the middle for a full day. Read your product's label and trust the longer number.
Can I use toothpaste or caulk as a quick fix?
Toothpaste works as a visual trick for tiny nail holes in white walls if you are desperate, but it shrinks, cracks, and yellows within weeks. Caulk stays flexible and shows through paint as a shiny line. Real spackle costs a few dollars and is the only fix that lasts. There is no shortcut worth taking here.
Do I need to repaint the whole wall?
Usually not. If you spot-prime the patch and blend the edges, a single coat over the repair area disappears on most walls. You only need the whole wall when the existing paint is old and faded, because new paint will look brighter next to it. Test one section first and look at it in daylight.
Is this a job for a handyman or can a beginner do it?
A beginner can absolutely do this. The skills involved are spreading paste, light sanding, and painting, none of which take talent, just patience. Call a professional only for large holes, plaster-and-lath walls, or damage near electrical wiring. For a standard door-handle hole in drywall, you are the right person for the job.